PUTTING CODING KNOWLEDGE TO THE ULTIMATE TEST
Free time project | 2021 - 2023
The more I learned about rendering technologies in games, the more I wondered, if it were possible for me to re-create a 3D rendering application from scratch. This endeavor soon proved to be one of the hardest coding challenges I have ever attempted.
With no guidance or tutorials, just a blank C# Windows Presentation Foundation (WPF) project and a rough idea I set out to try and create a raytraced 3D renderer.
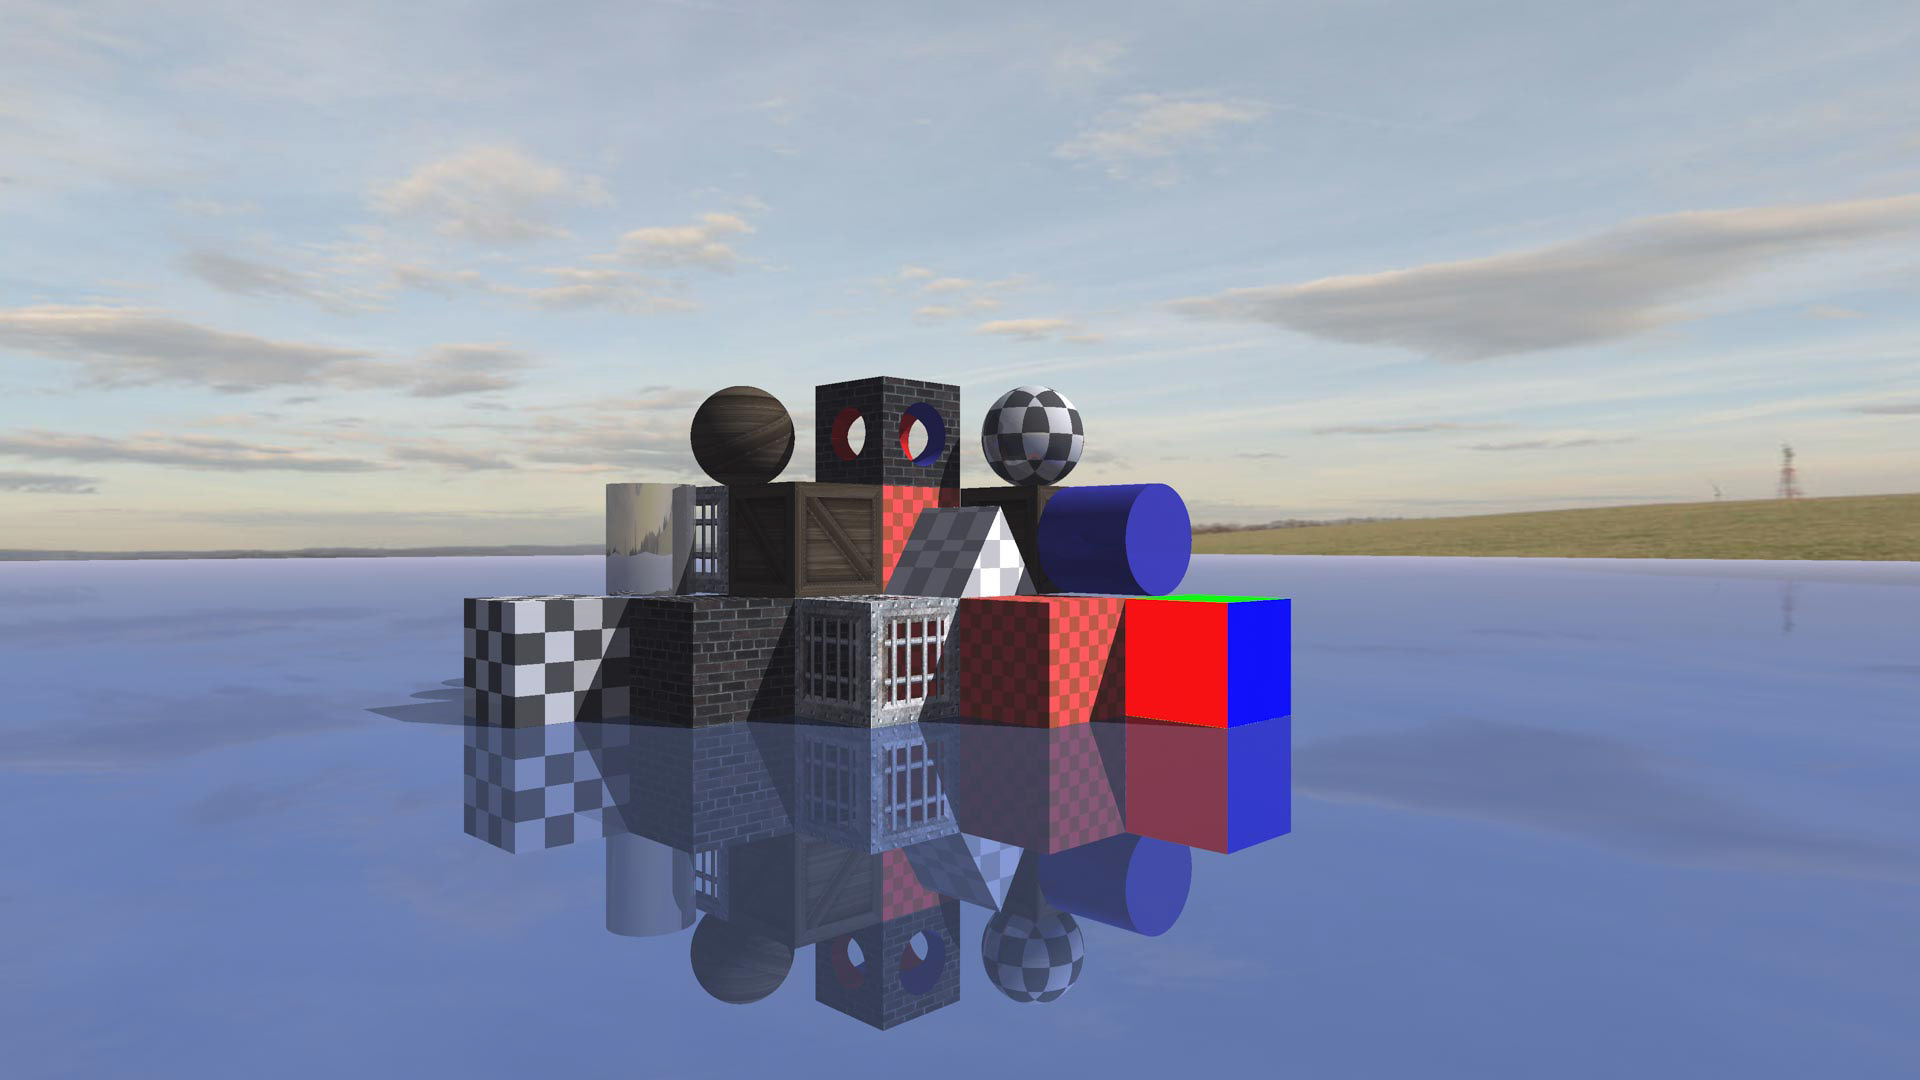
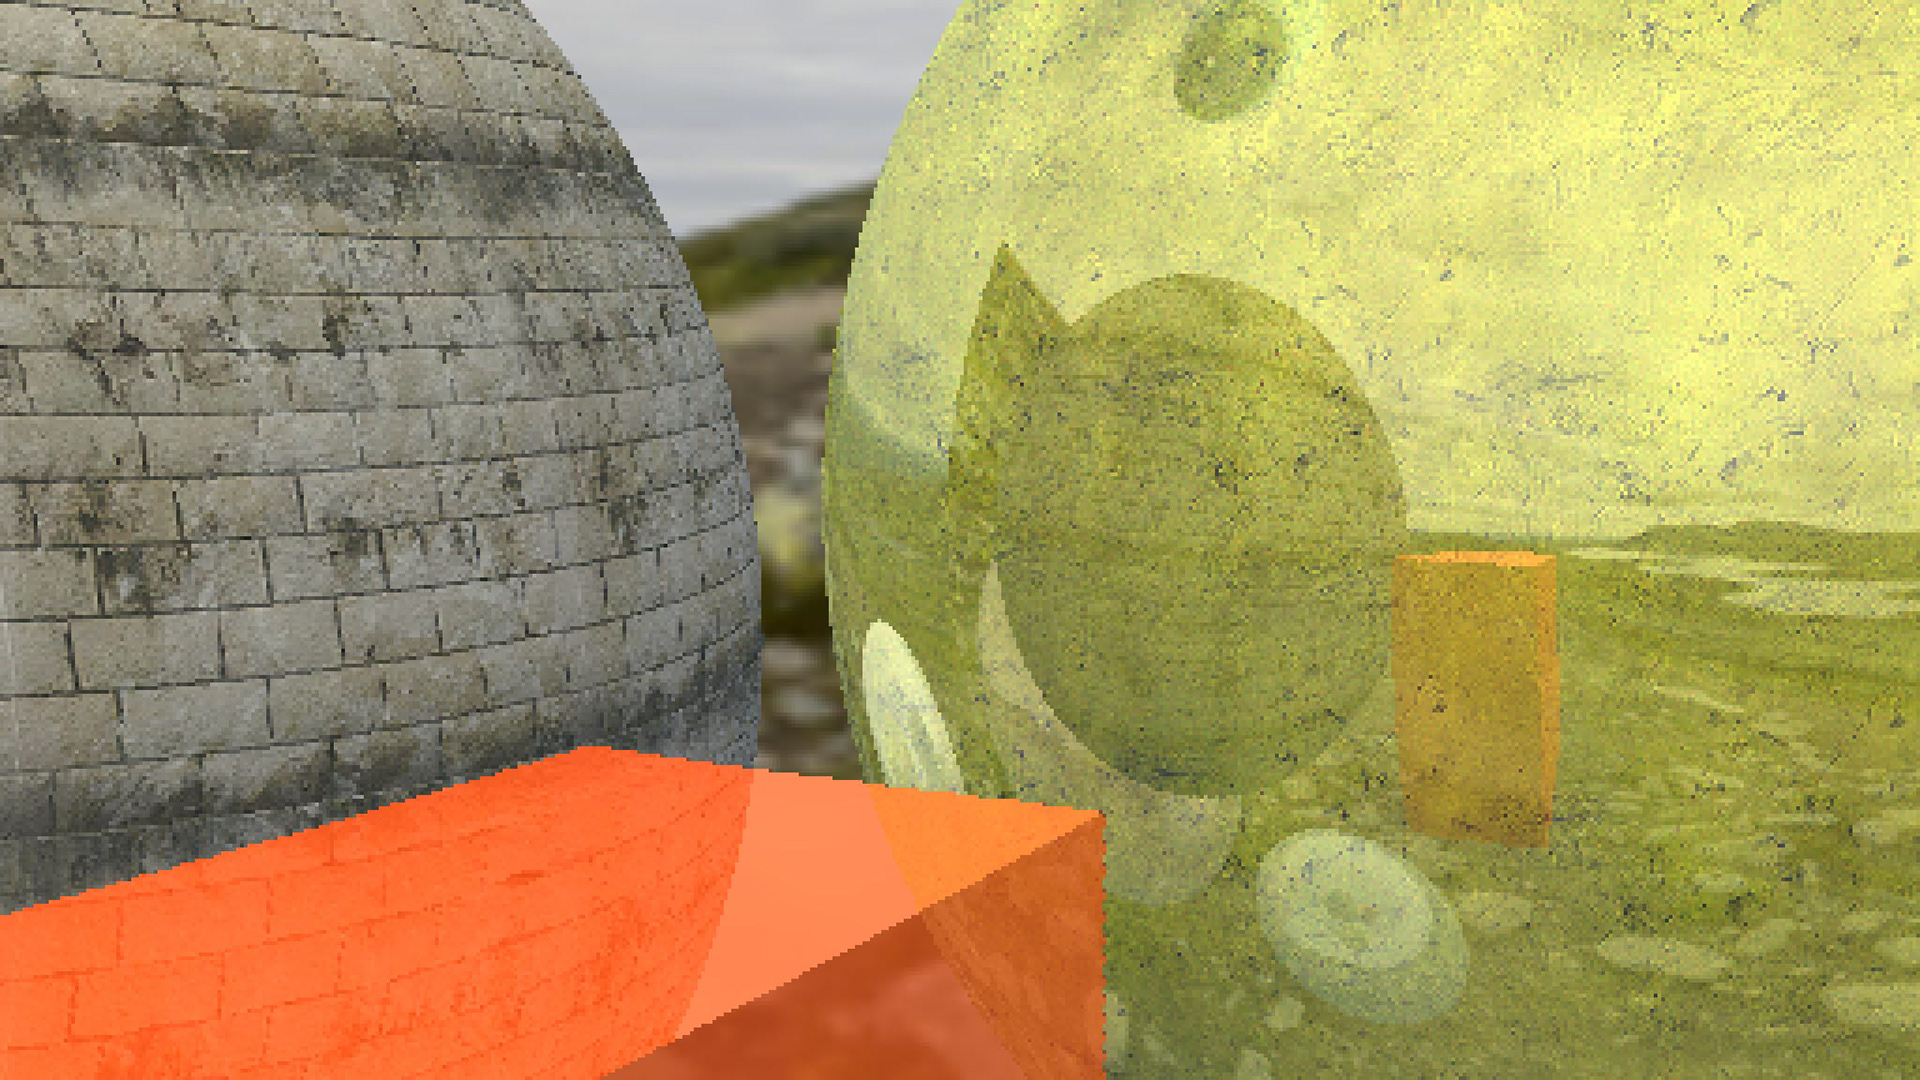
Sample rendering showcasing the various shapes and materials
First steps
The project started with the simple goal of a camera detecting a collision against a sphere. Right from the start I faced some of the more difficult challenges, one of them being how I had to calculate the directions all the rays had to be shot from the camera.
Right after I got that to work, I faced the next challenge, on how to get to actually see the image. Given that I was using WPF, I ended up creating a new bitmap for every frame and displaying it in an empty window.
The beginning was a very slow and tedious process.
Reflections & Texturing
From there I theorized that one could simply get the sphere’s normals to achieve some basic shading. These could then also be used to create reflections by bouncing the rays shot from the camera.
To give textures to the different objects I initially took the pixel’s world coordinate and used them as texture coordinates. The sky is sampled from a photo sphere.
The following original screenshots were rendered with a 512 x 288 resolution.
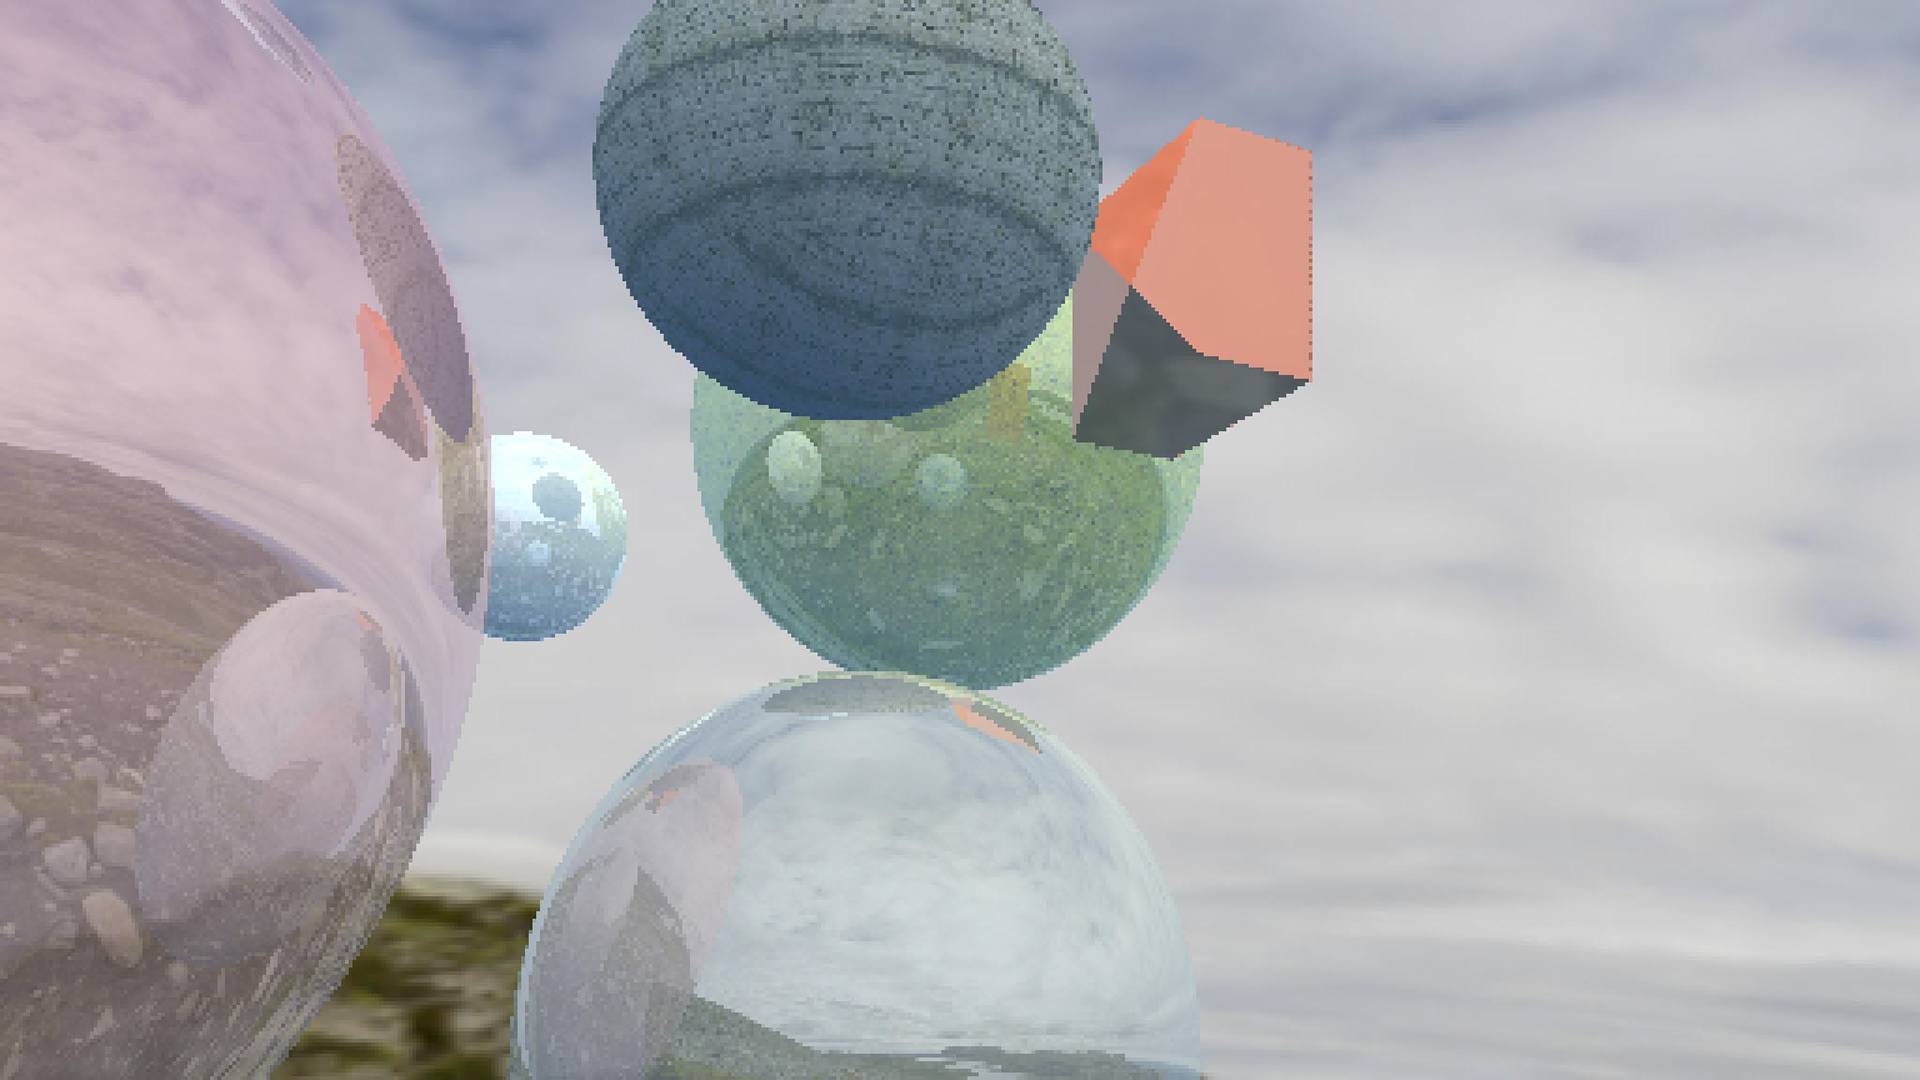
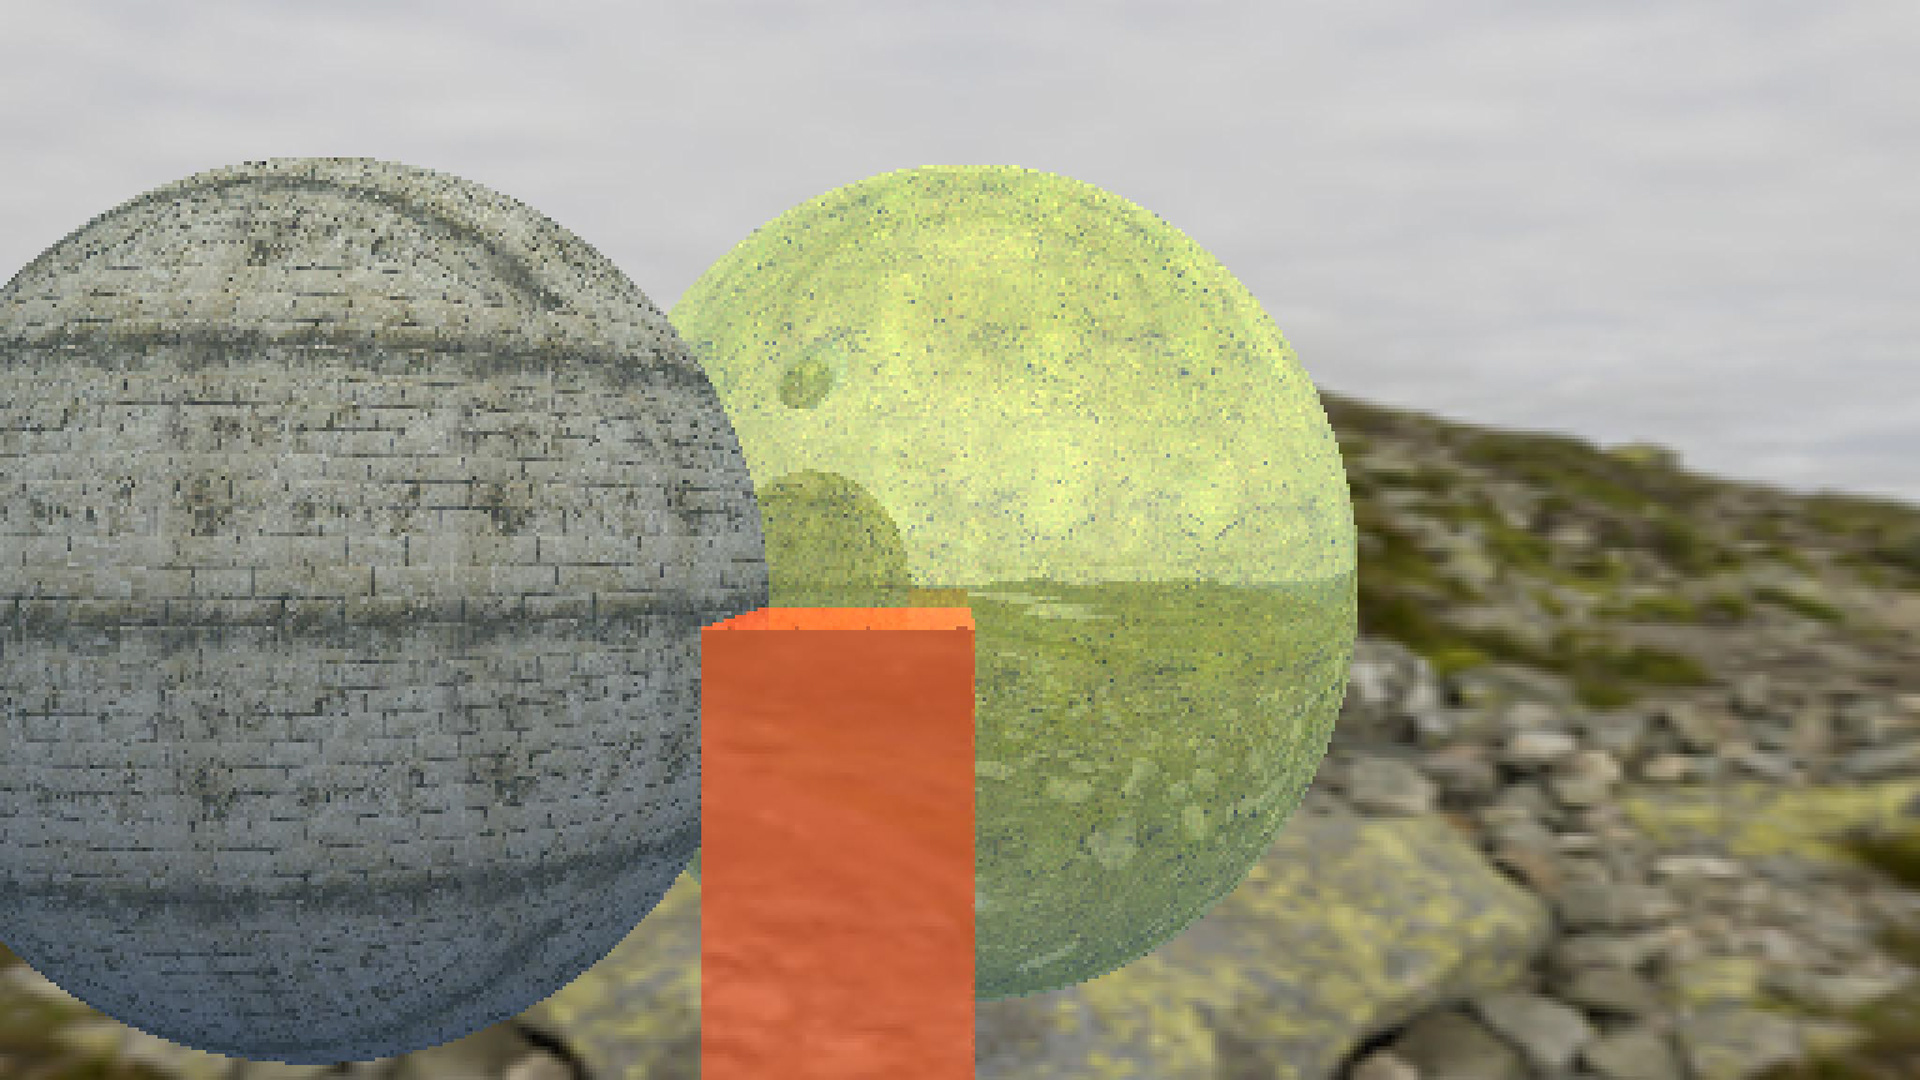
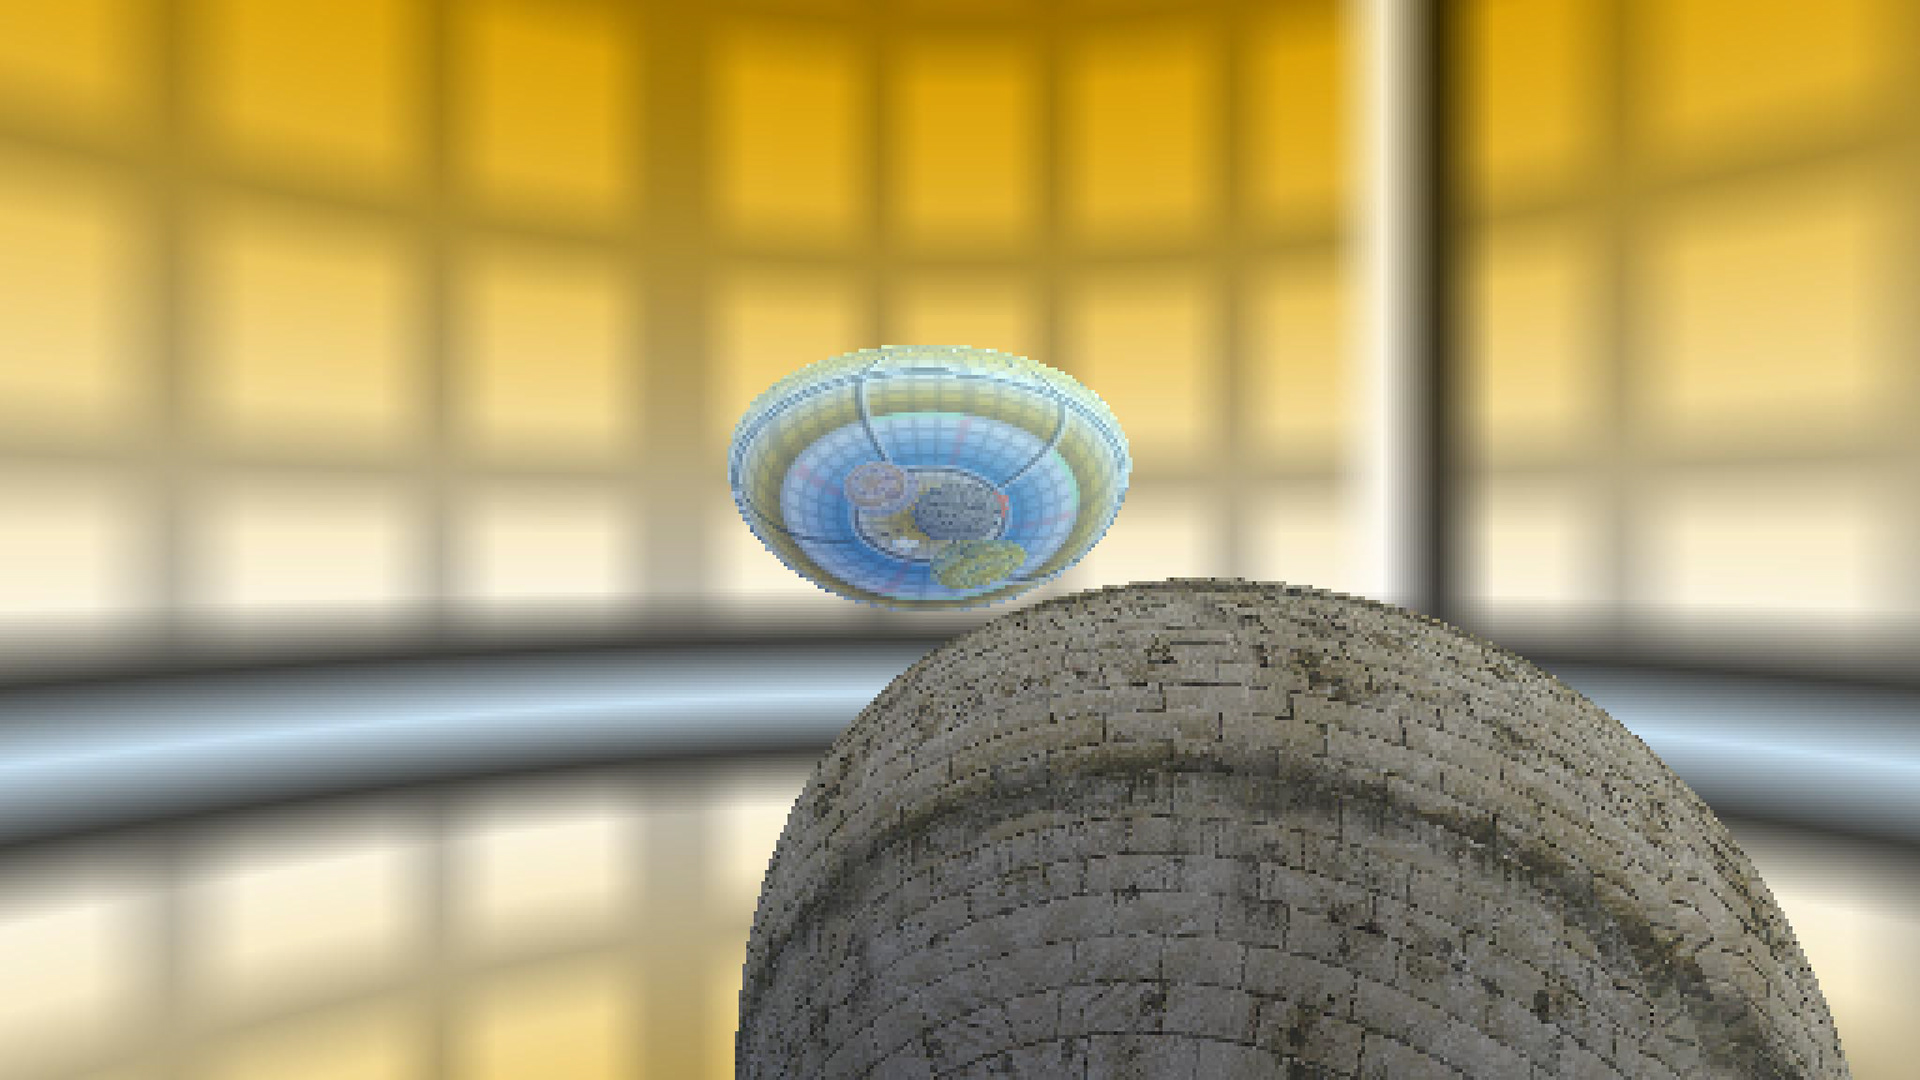
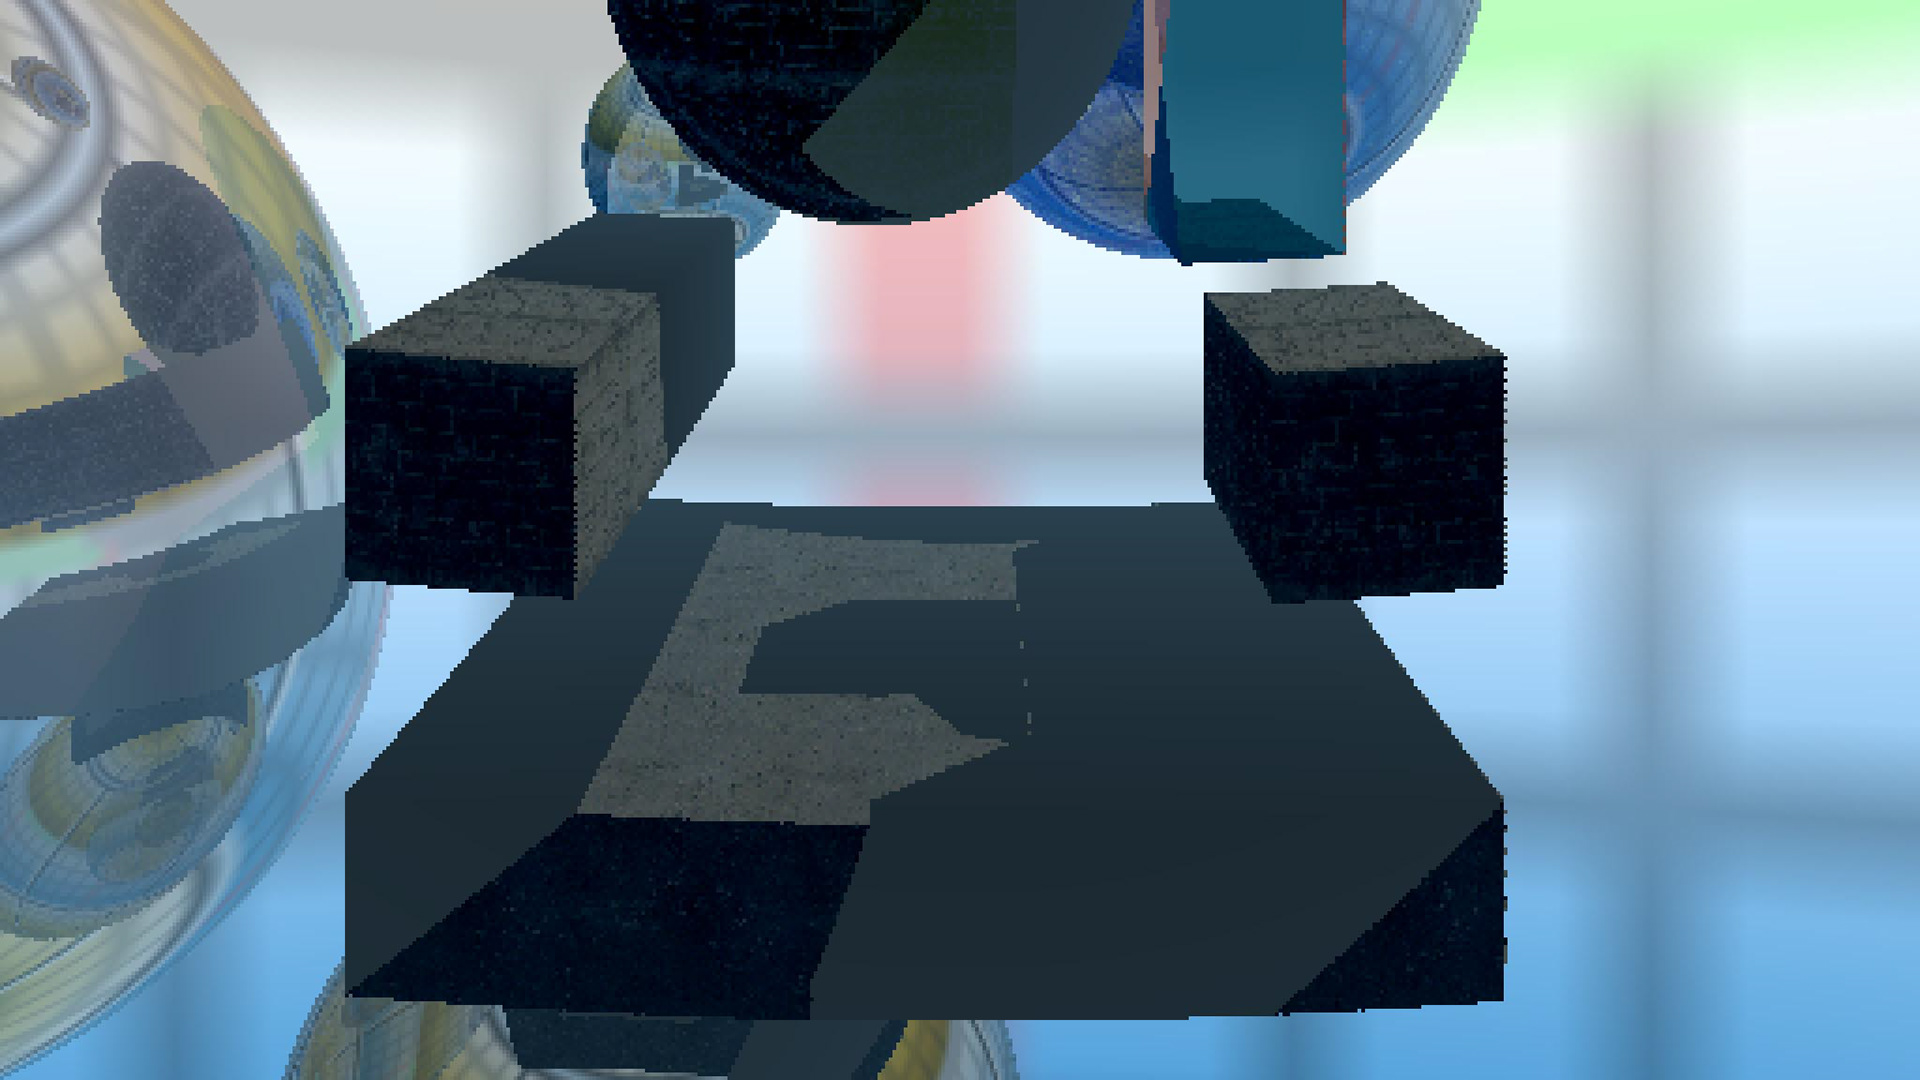
Broken results
The complex calculations of a raytracer did not always exactly do what they were supposed to, which
often led to interesting looking results. This was mostly caused by faulty camera calculations, which distorted the whole image when looking up or down. Most of these broken images were generated during debugging sessions, while trying to figure out what was causing these weird distortions.
often led to interesting looking results. This was mostly caused by faulty camera calculations, which distorted the whole image when looking up or down. Most of these broken images were generated during debugging sessions, while trying to figure out what was causing these weird distortions.
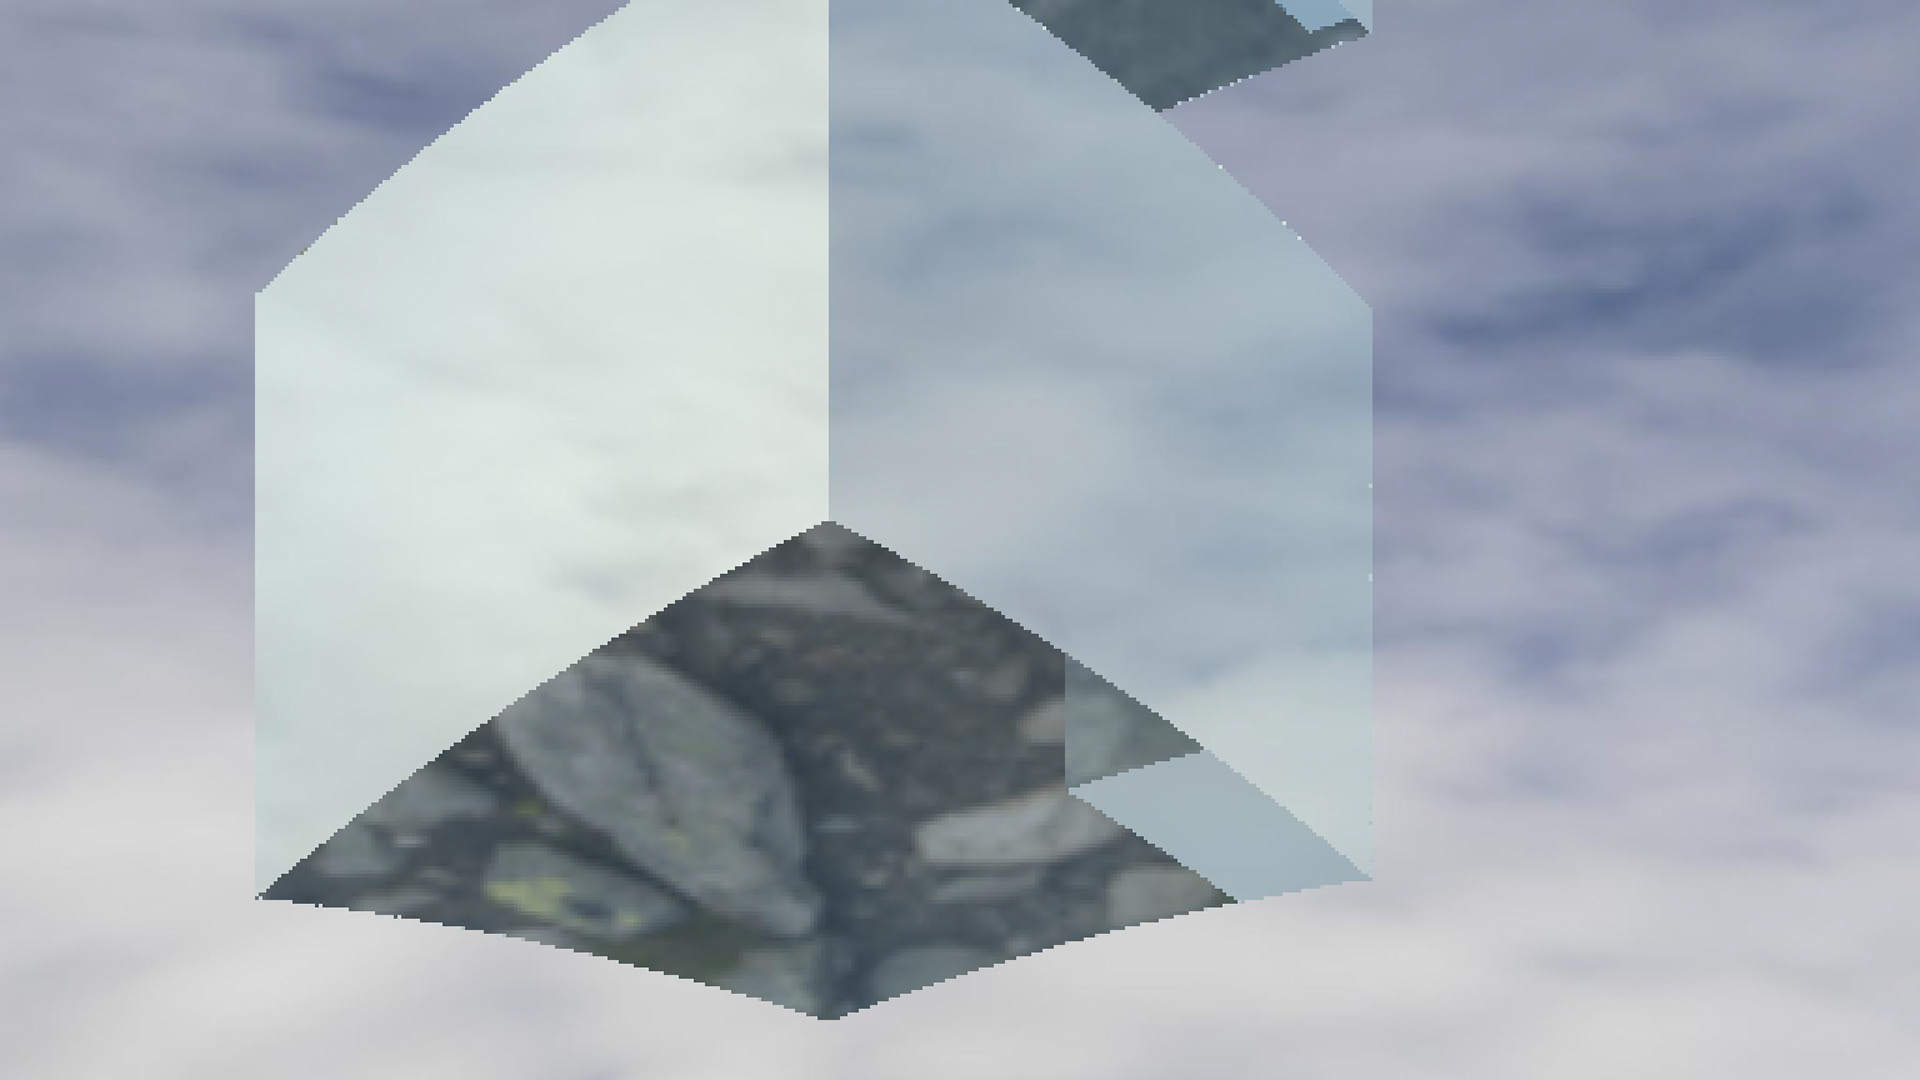
(not) a cube
distorted sphere
broken shadows
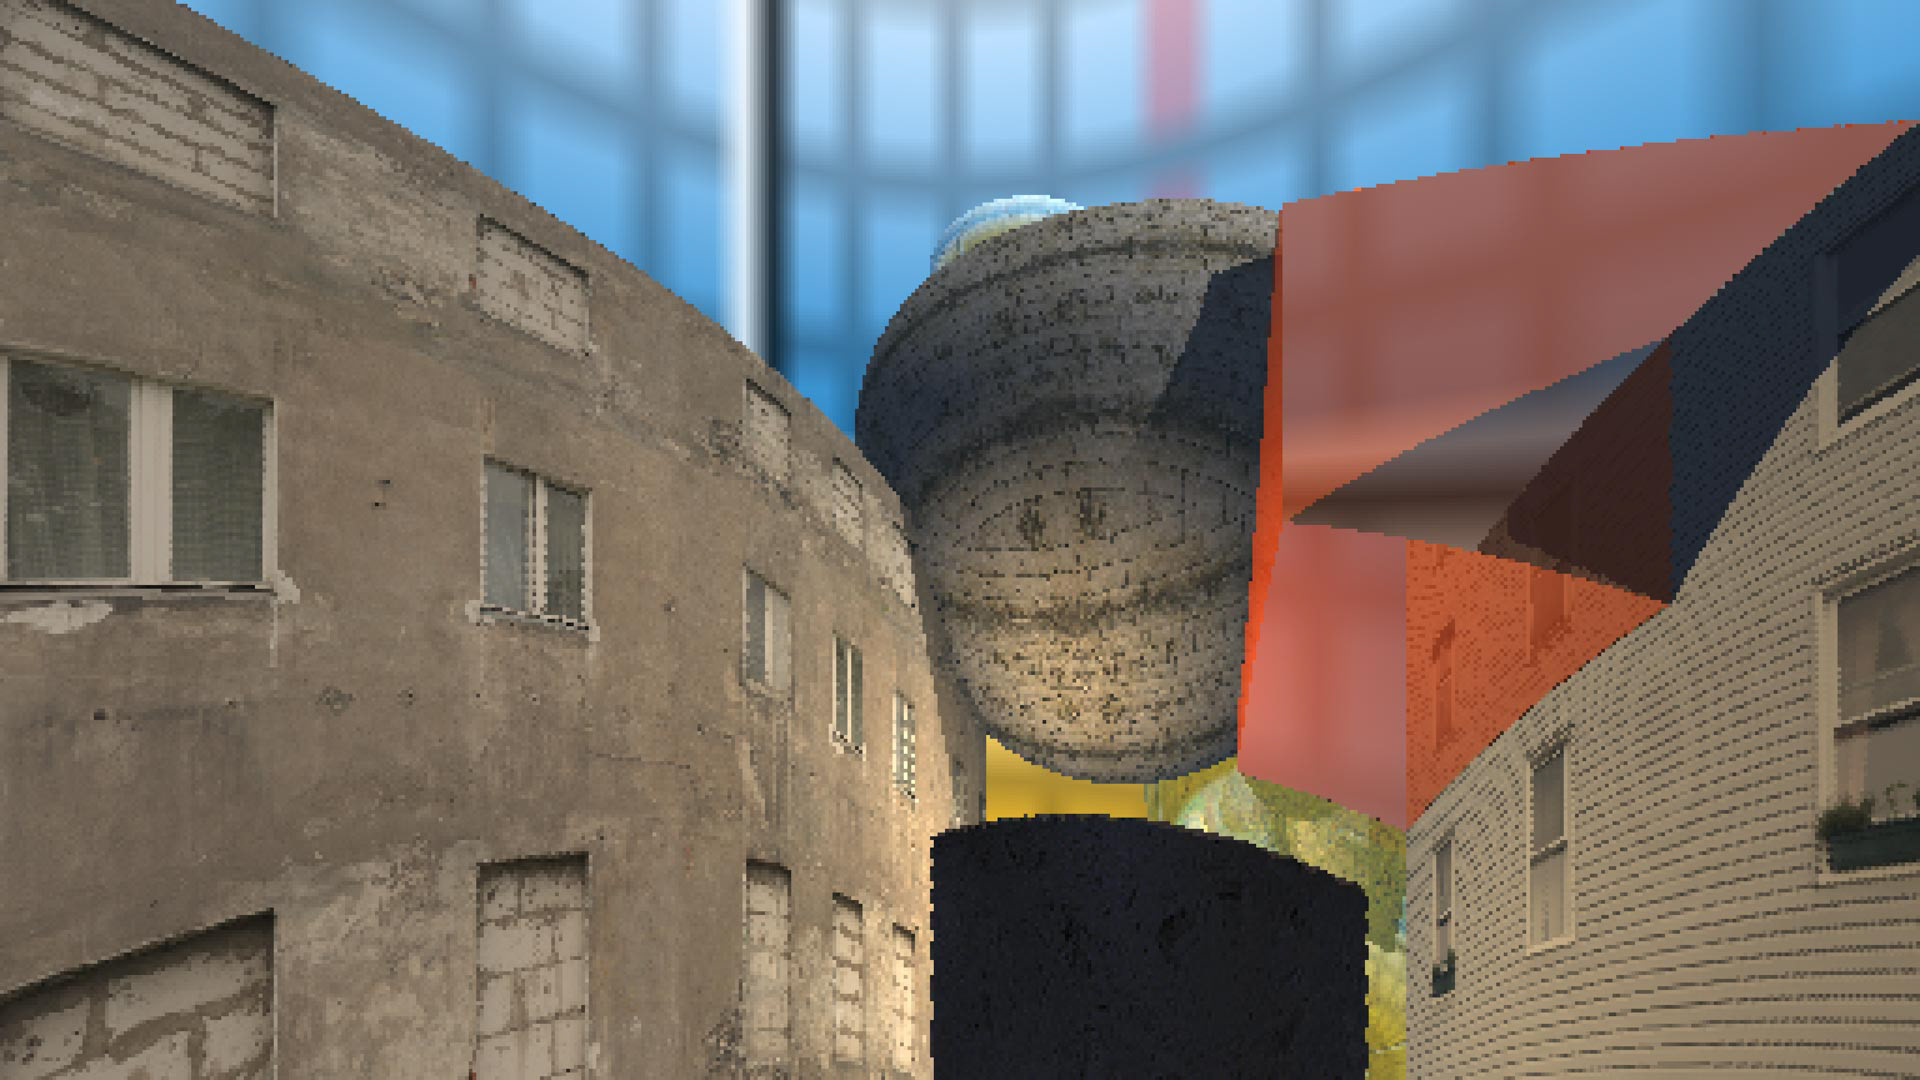
distorted buildings #1

distorted buildings #2
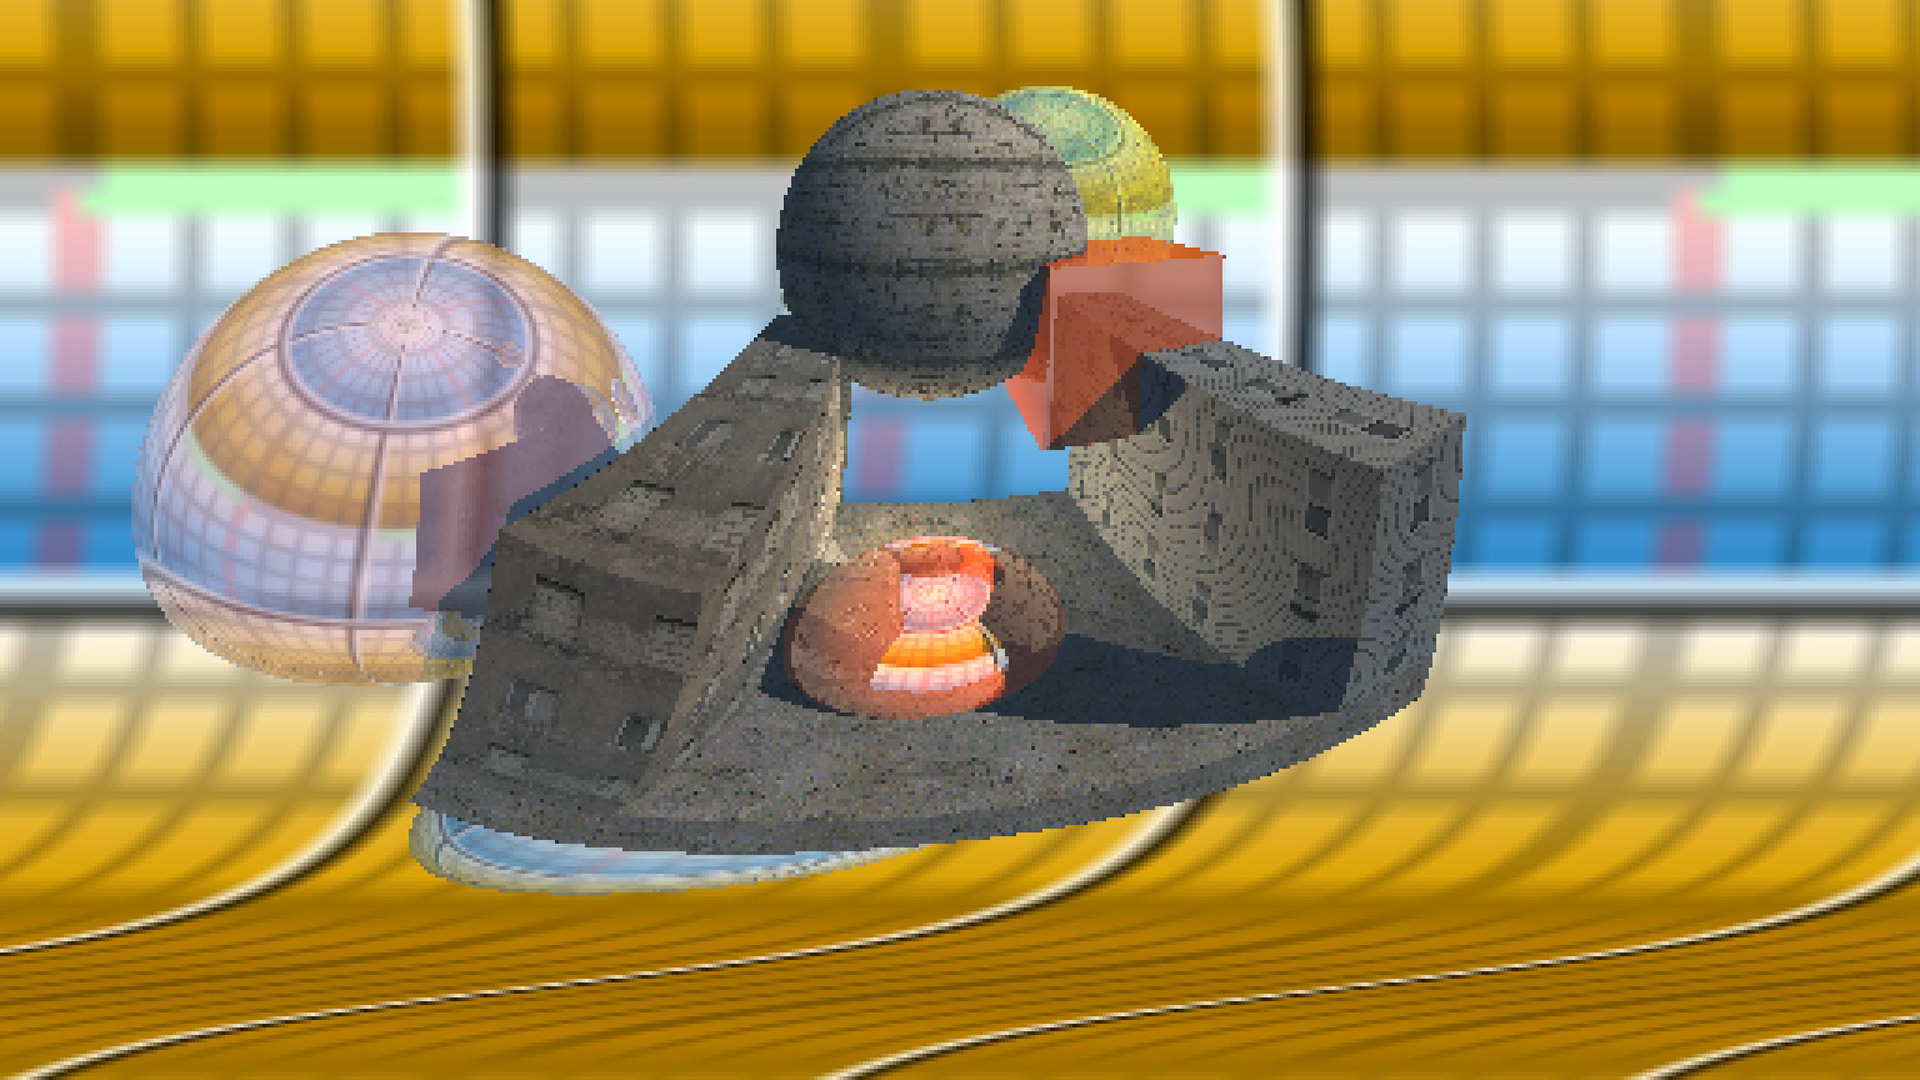
distorted buildings #3
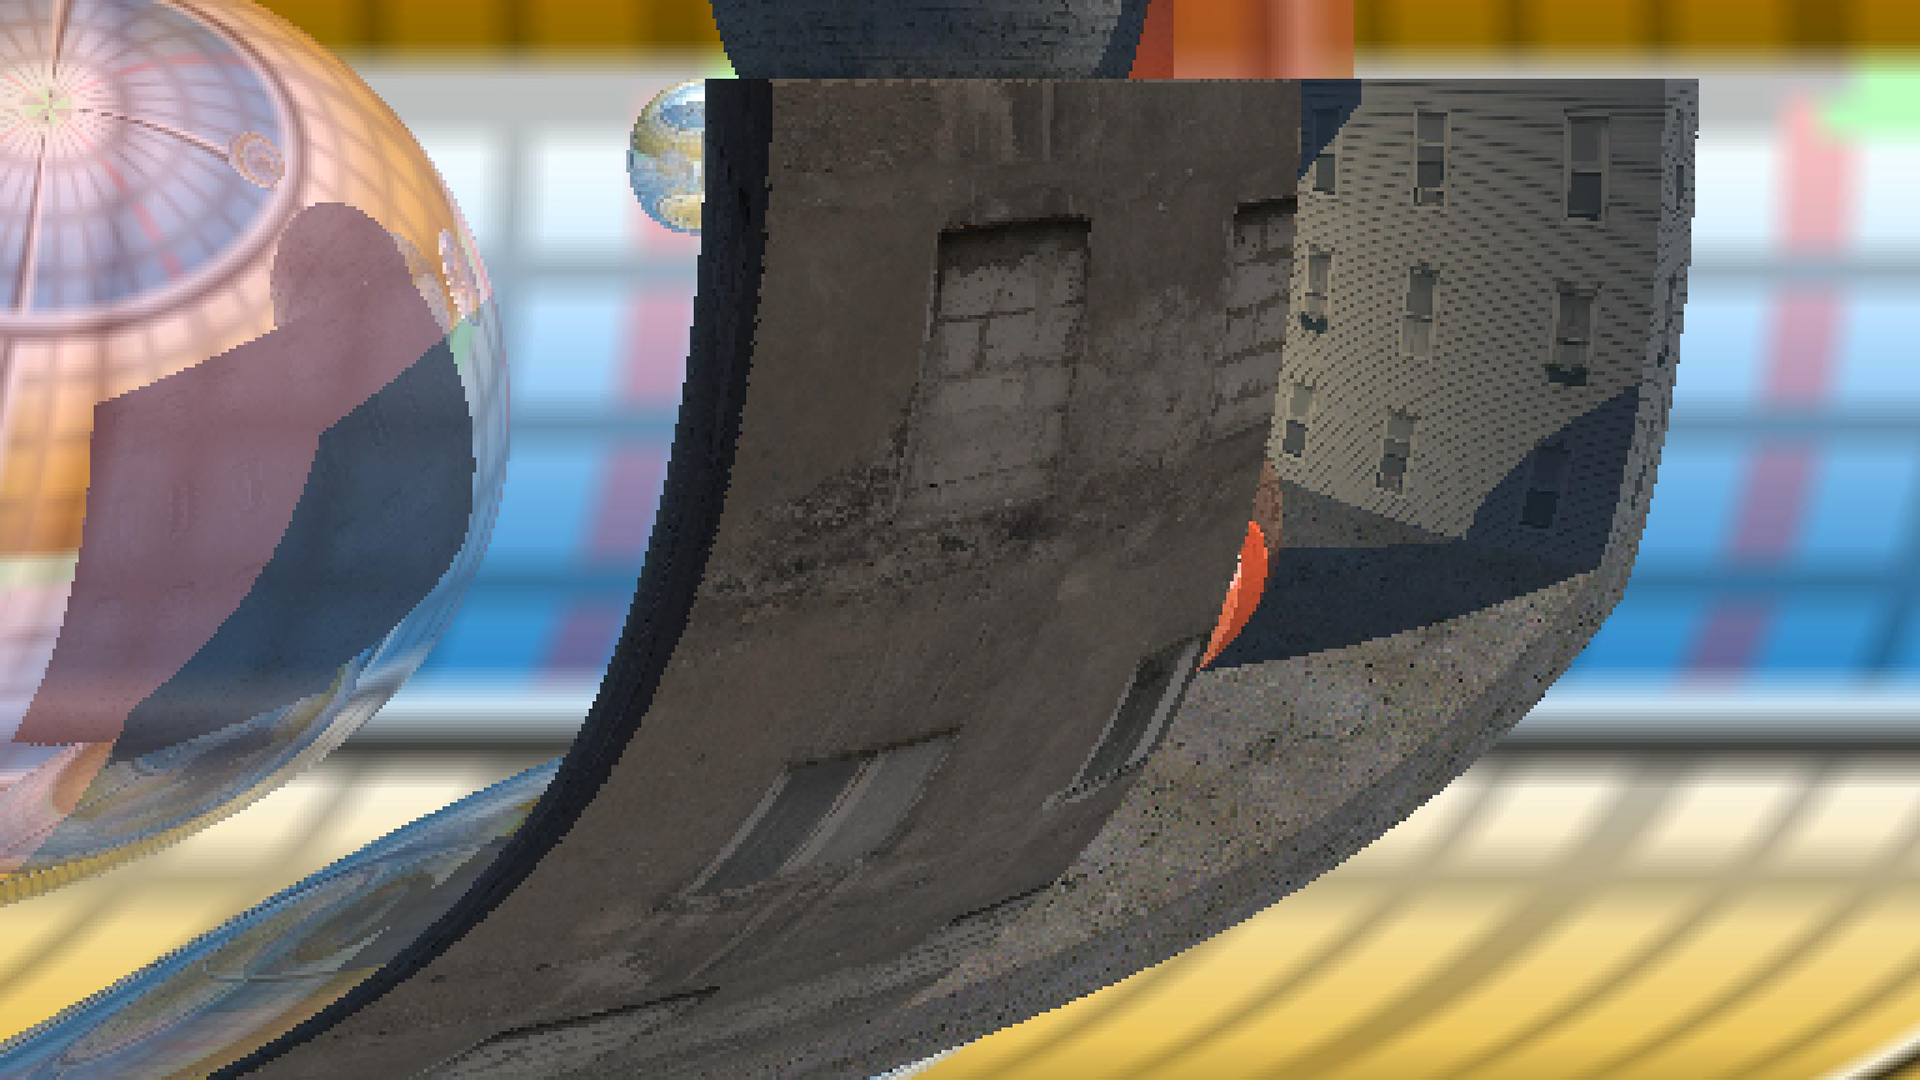
distorted buildings #4

distorted buildings #5
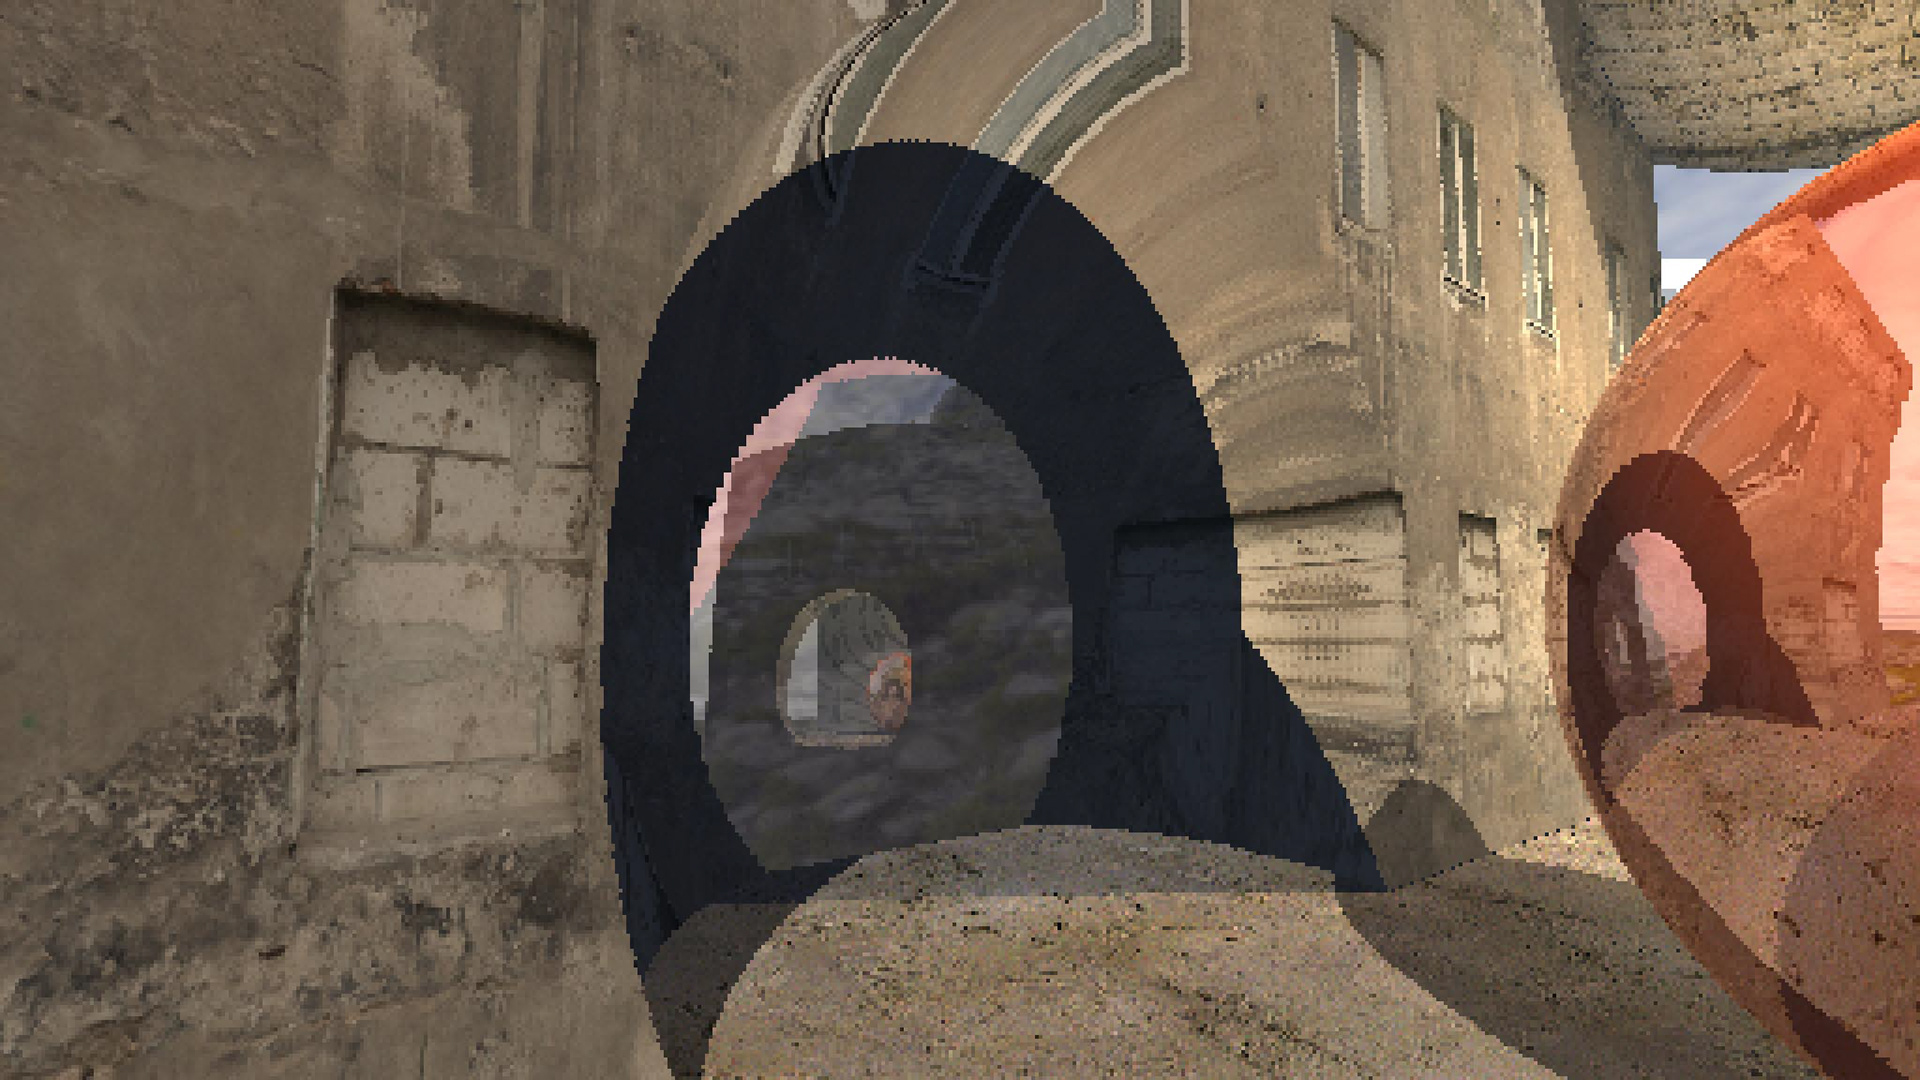
cutting a hole in the wall
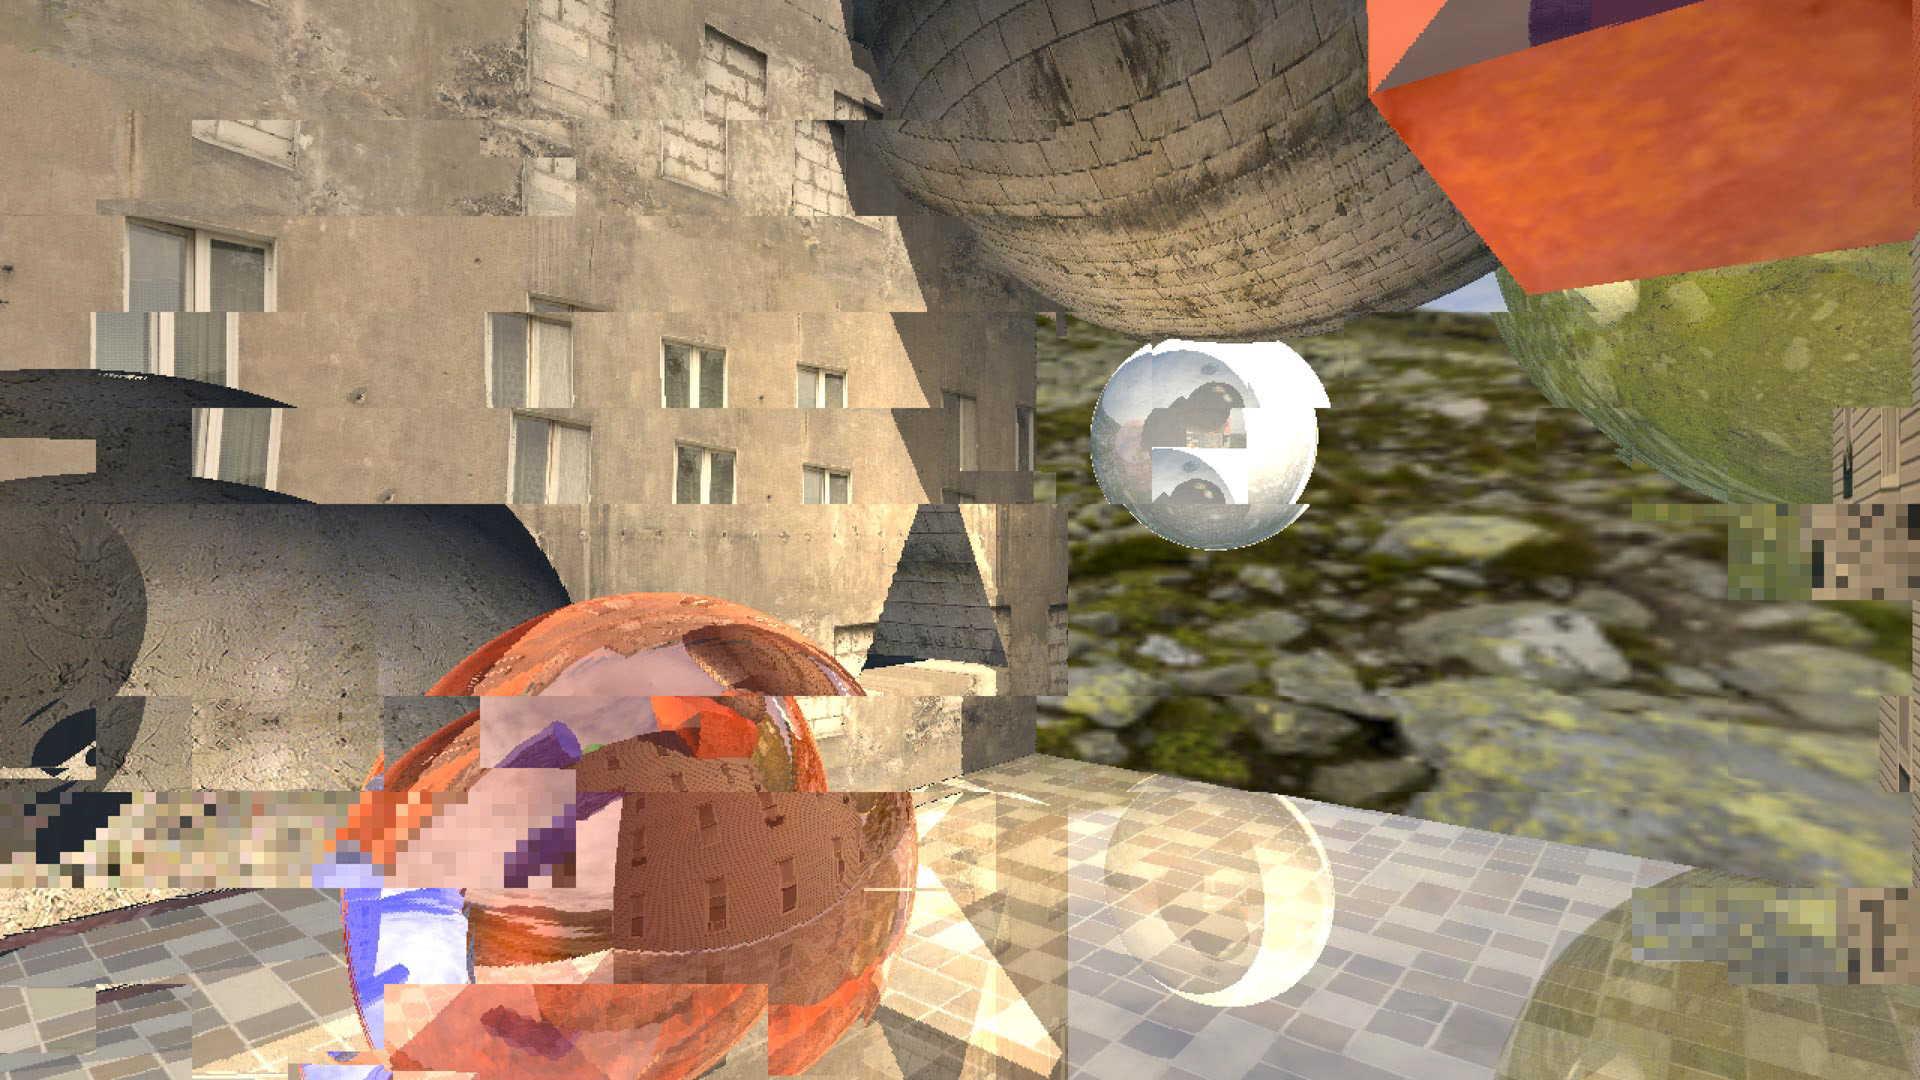
moving the camera during a rendering
Scene files
In early versions, the different scenes were all hardcoded into the program and couldn't be modified without editing the source code and rebuilding the entire application. To make the creation of different scenes much more accessible, I had to come up with a way where users could create and edit scenes themselves without the need to code.
To make modelling as easy as possible I created my own text file format, which doesn't require many special characters, unlike popular formats such as XML or JSON.
As a little side project I tried to recreate the ground floor of the Toni-Areal using my custom scene file format. By using floor plans found on the internet I was able to accurately build the majority of the entrance hall, using only the primitives provided by the raytracer.
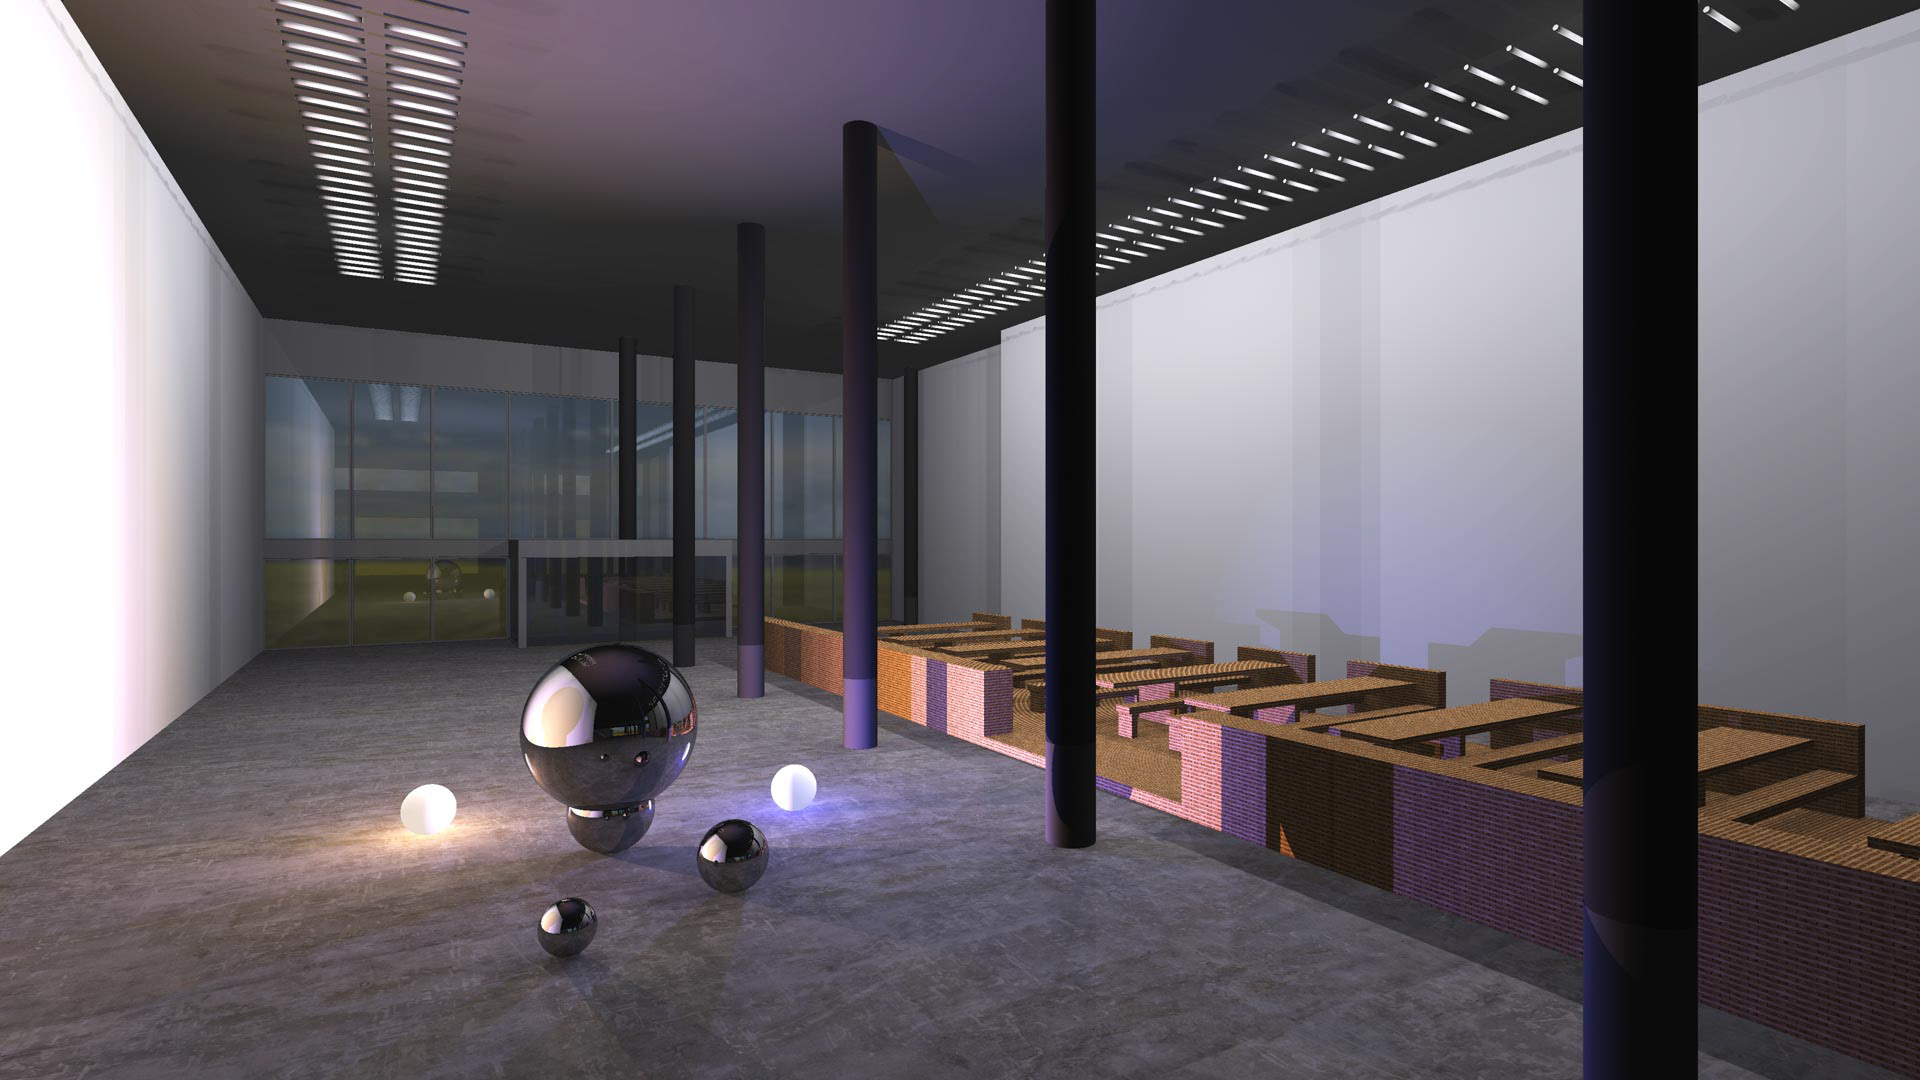
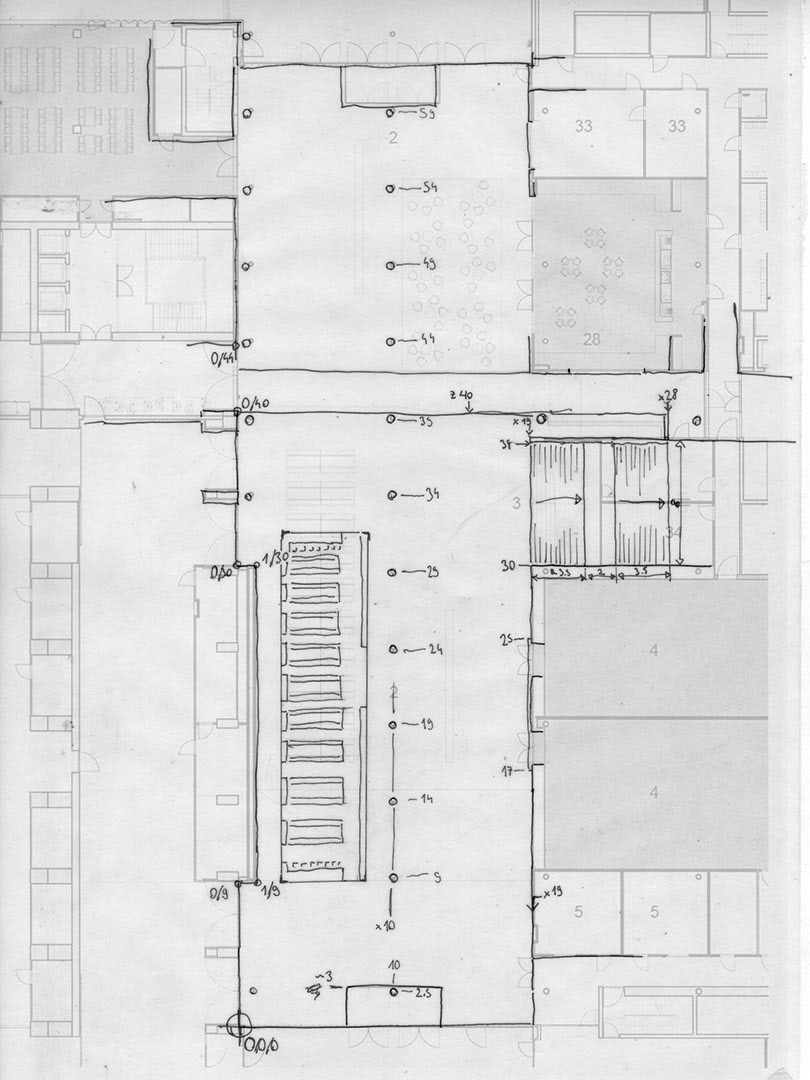
Floor plan used for the 3D model
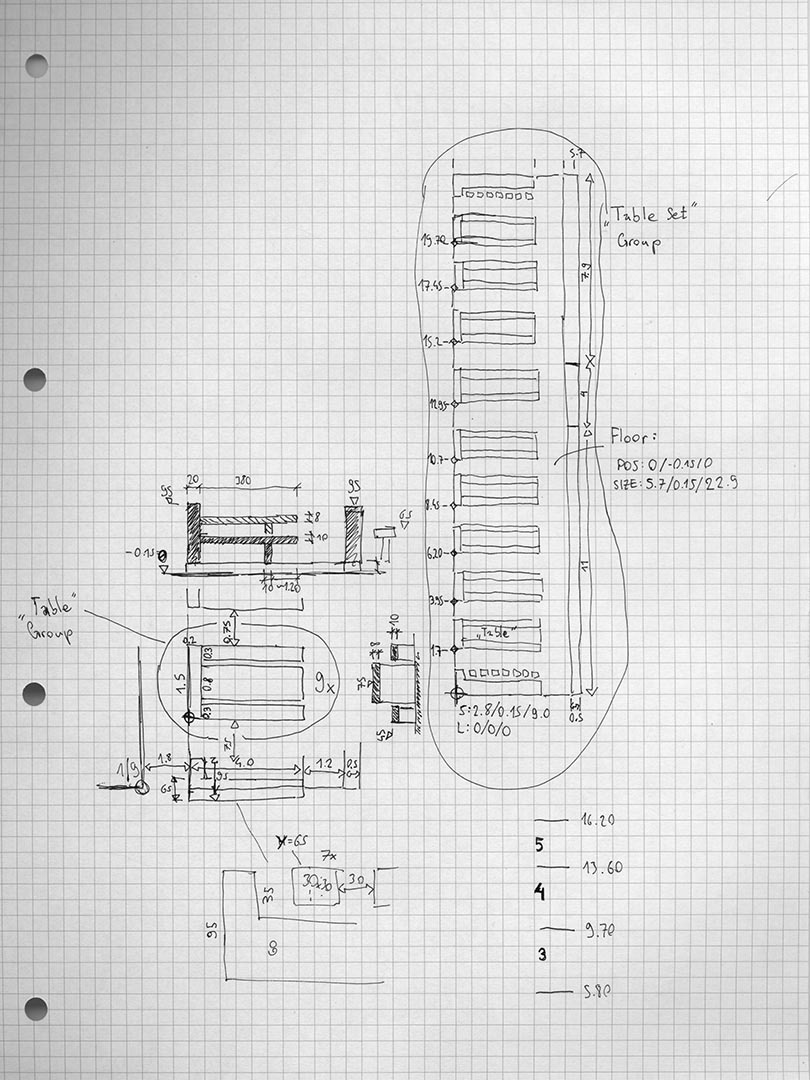
Measurements for modelling the wooden tables
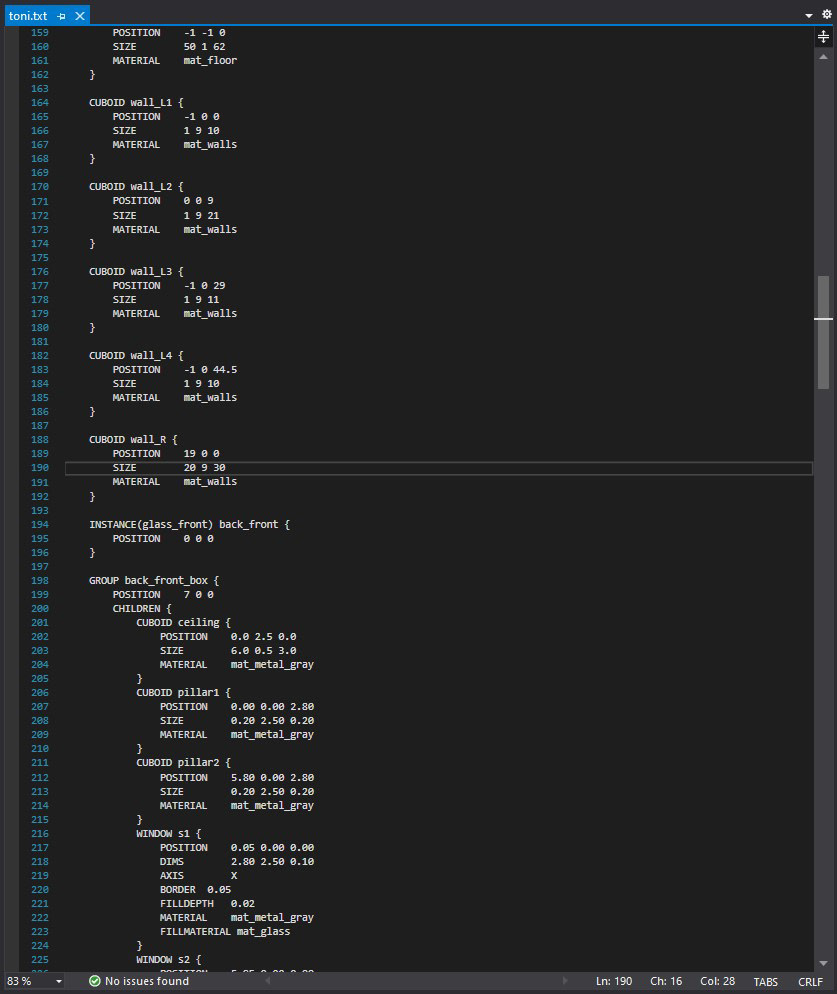
Excerpt from the resulting scene file
The entire project's source code is hosted on Github, although mostly undocumented.